
Virtual Desktop
To configure Virtual Desktop, you will need Meta Link installed on your computer. Meta Link is enough to install, you don't need to log in to your profile
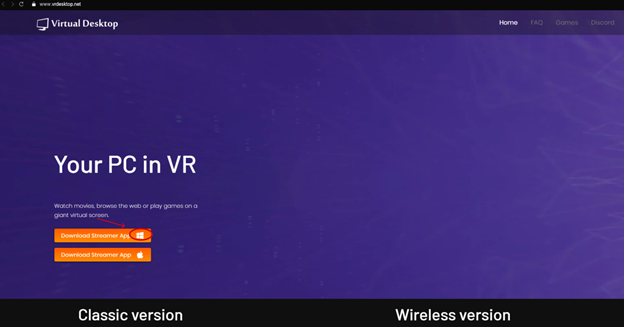
Next, install Virtual Desktop in the helmet itself and proceed to install Virtual Desktop on your computer. To do this, go to the official website and download programm
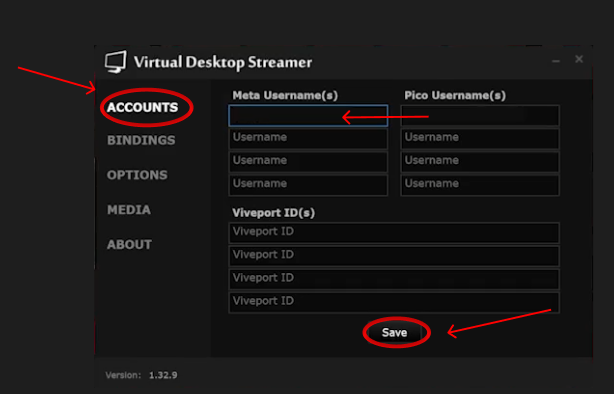
After installation, open the program on your PC and in the Accounts tab, enter the nickname that is specified in Quest, case-sensitive, and click Save
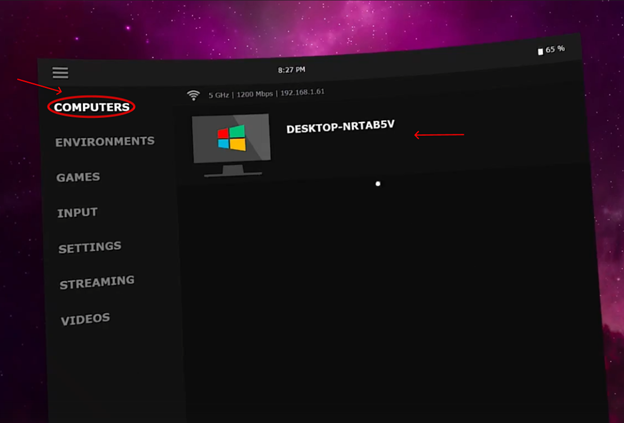
We leave Virtual Desktop on the PC open and go to the helmet. There we open the previously downloaded Virtual Desktop program. In the Computers tab, we wait for your PC to appear and click on it.
We remind you!
Your computer and helmet must be connected to the same Internet network!
After the connection is successful, go to the Streaming tab and set the VR Graphics Quality parameters depending on the model of your video card.
The VR Frame Rate must be set to 72 FPS, and the VR Bitrate setting must be selected manually until a smooth image is achieved without "twitching"
Virtual Desktop setup is complete!
Note
If you need to open the Virtual Desktop menu to set the settings, then this is done by double-clicking on the button with three horizontal sticks on the left controller