
Steam Link
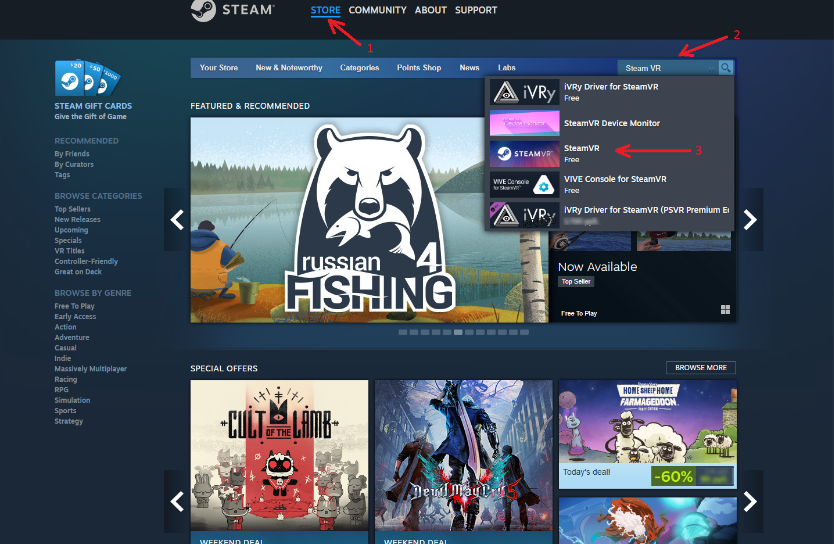
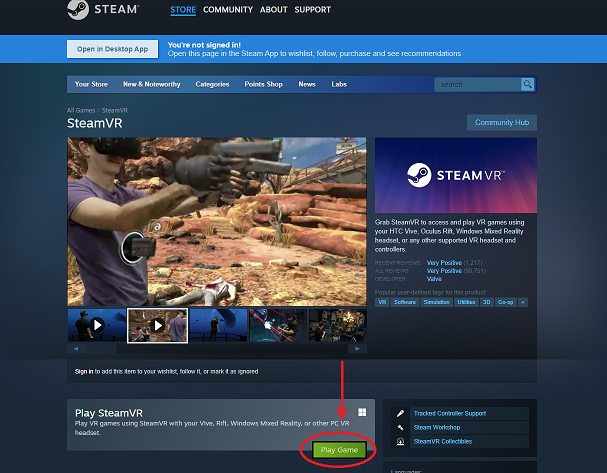
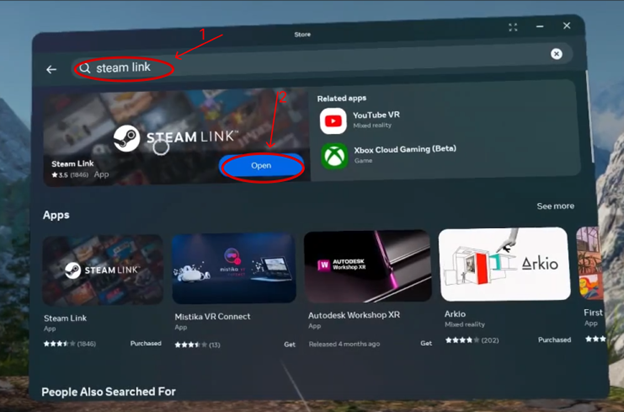
We download the Steam Link program on the helmet through the store, and on the computer we download the Steam VR program through the Steam store
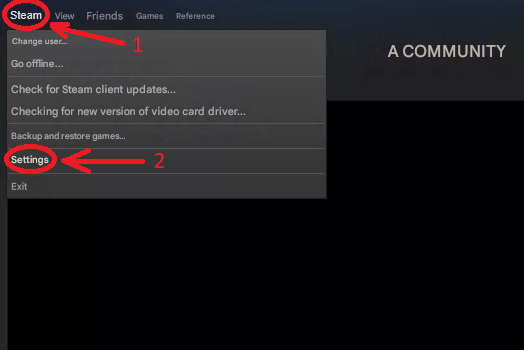
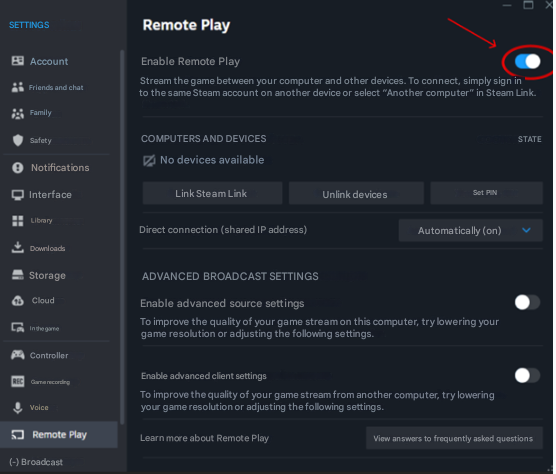
Then on the computer go to the Steam settings and select Remote Play and check that this setting is enabled
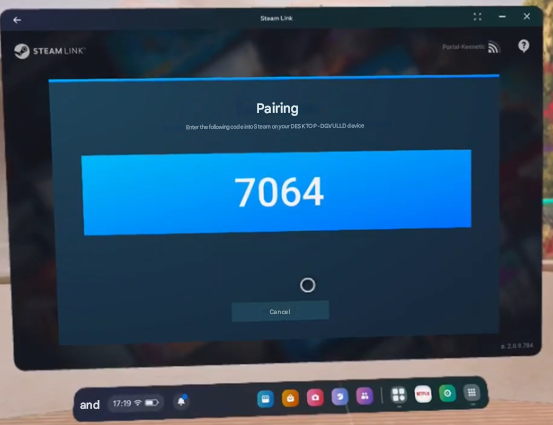
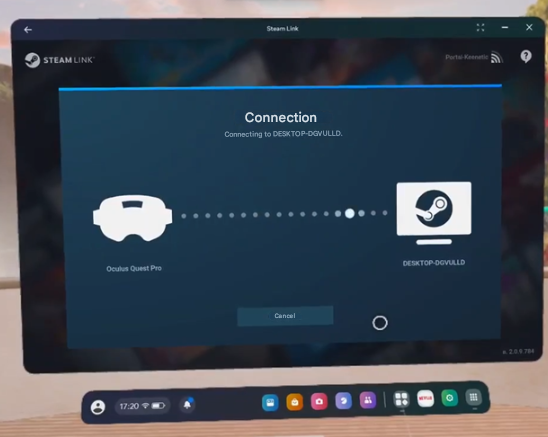
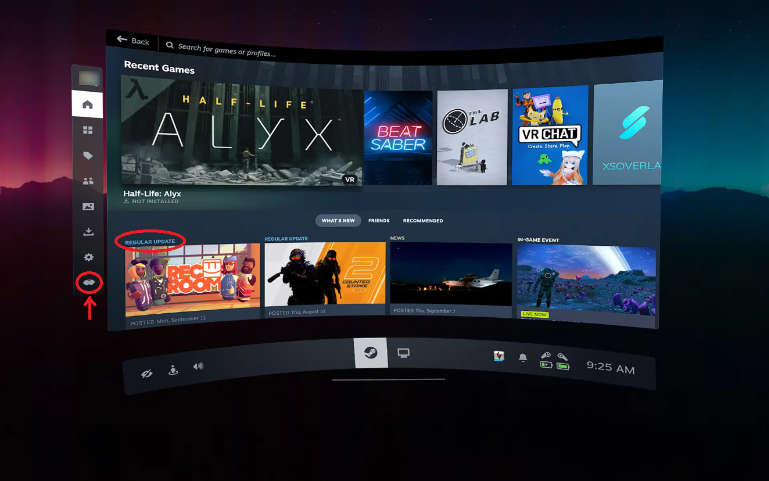
Next, in the helmet, launch the previously downloaded Steam Link program. In the window that opens, you should see your computer. Select the desired PC, click Connect, give the application all permissions if necessary, and in the window you will have to see the PC connection code, and on the computer itself a window for entering the code. Enter the code from the helmet on the PC and click continue, after which the connection will be completed!

Then go to the Steam VR settings on your computer by clicking on the 3 vertical sticks in the upper left corner of the Steam VR window
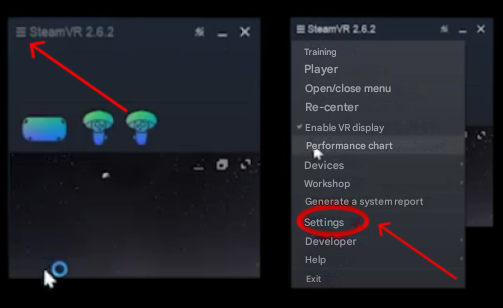
In the window that opens, select the OpenXR tab and click Set SteamVR as the OpenXR runtime environment

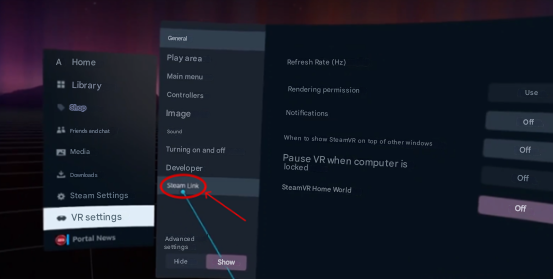
Then go to the Steam Link settings in the helmet and go to adjust the bit rate so that the picture is smooth without twitching
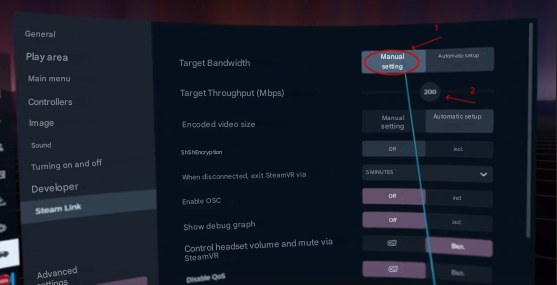
Next, we turn the Target bandwidth item to Manual settings, and a slider will appear at the bottom, moving it to select the bandwidth so that the image is smooth without twitching!
Congratulations! Connecting and configuring Steam Link is complete!
Note!
Your computer and helmet must be connected to the same Internet network!