
Demo Build Setup & Launch Instruction
This guide will help you install and run the demo build on your desired device.
1. Downloading and Unpacking the Build
-
Once you receive the download link for the build, download the archive file.
-
Important: Place the downloaded file into the root directory of your drive (e.g.,
C:\orD:\). -
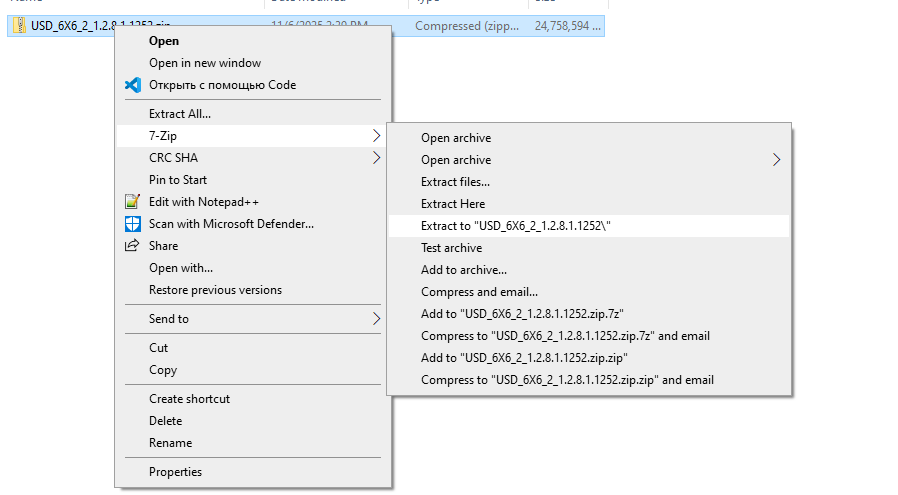
Unpack the archive using a file manager like 7-Zip or WinRAR.

After unpacking, you will see four folders:
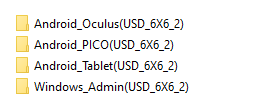
-
Android_Oculus- For installing the game on an Oculus headset. -
Android_PICO- For installing the game on a Pico headset. -
Android_Tablet- For installing the Admin Panel on an Android tablet (optional). -
Windows_Admin- For running the Admin Panel on a Windows PC.
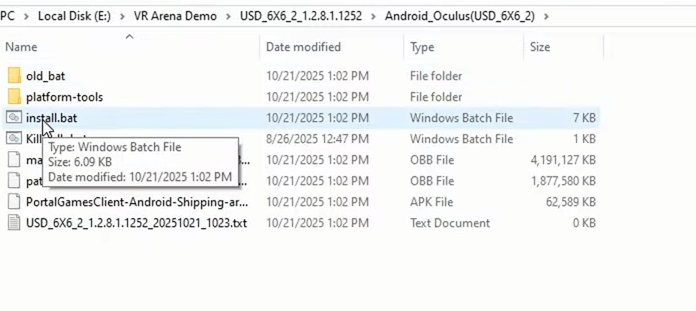
2. Installing the Game on a Headset (Oculus/Pico)
-
Prepare Your Headset:
-
Ensure Developer Mode is enabled in your headset settings.
-
Ensure the Guardian/Boundary system is turned off. The game requires a clear, unobstructed play area.
-
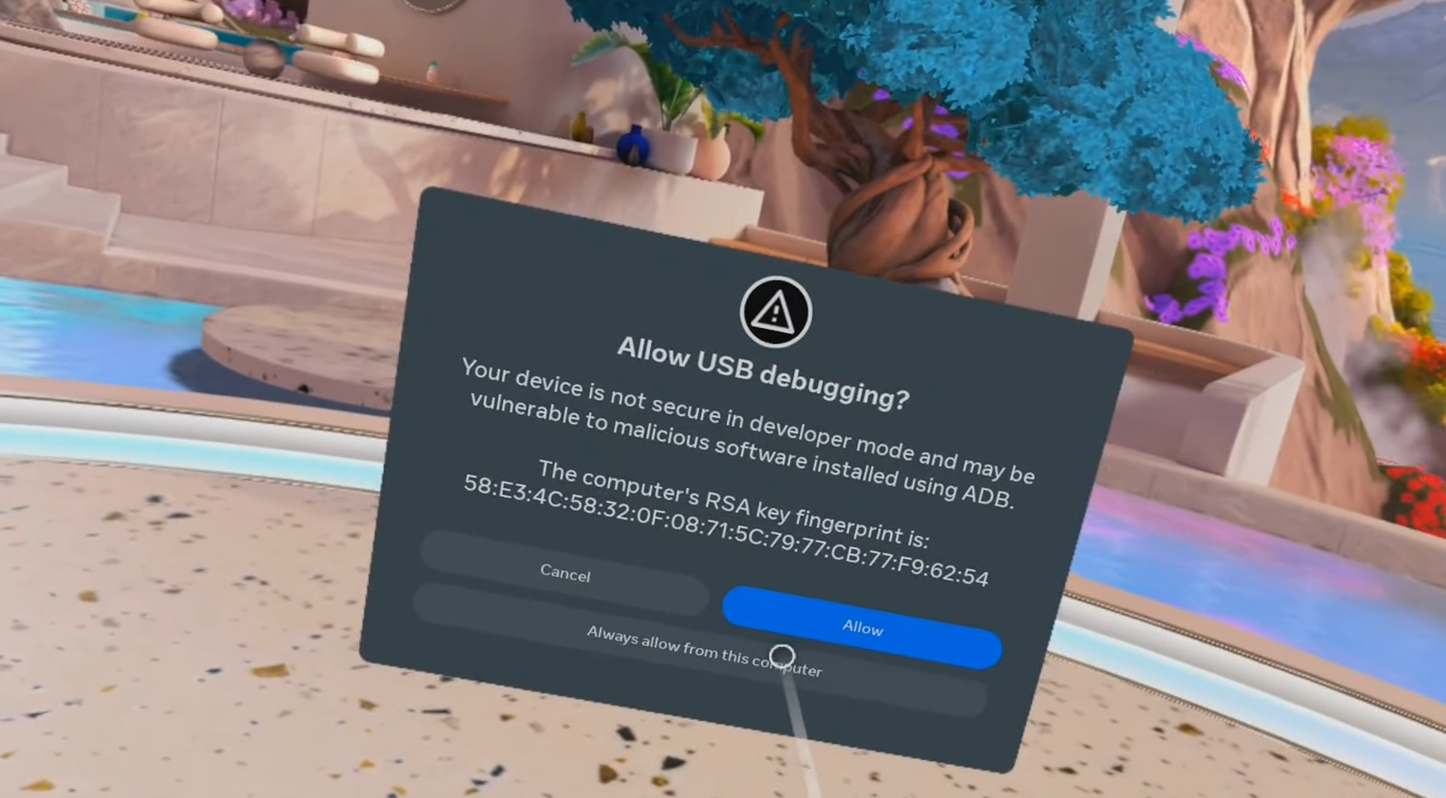
Connect your headset to your computer using a USB cable.
-
When prompted in the headset, put it on and allow USB debugging (confirm that you trust this computer).

-
-
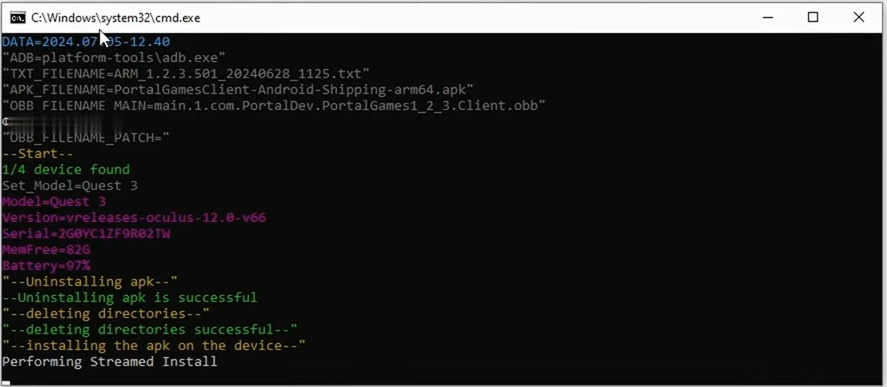
Run the Installer:
-
Open the folder corresponding to your headset (
Android_OculusorAndroid_PICO). -
Double-click the
install.batfile.
-
A command prompt window will appear. Wait for it to close automatically – this indicates a successful installation.
-

3. Launching the Game
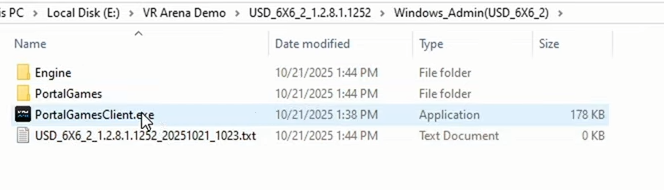
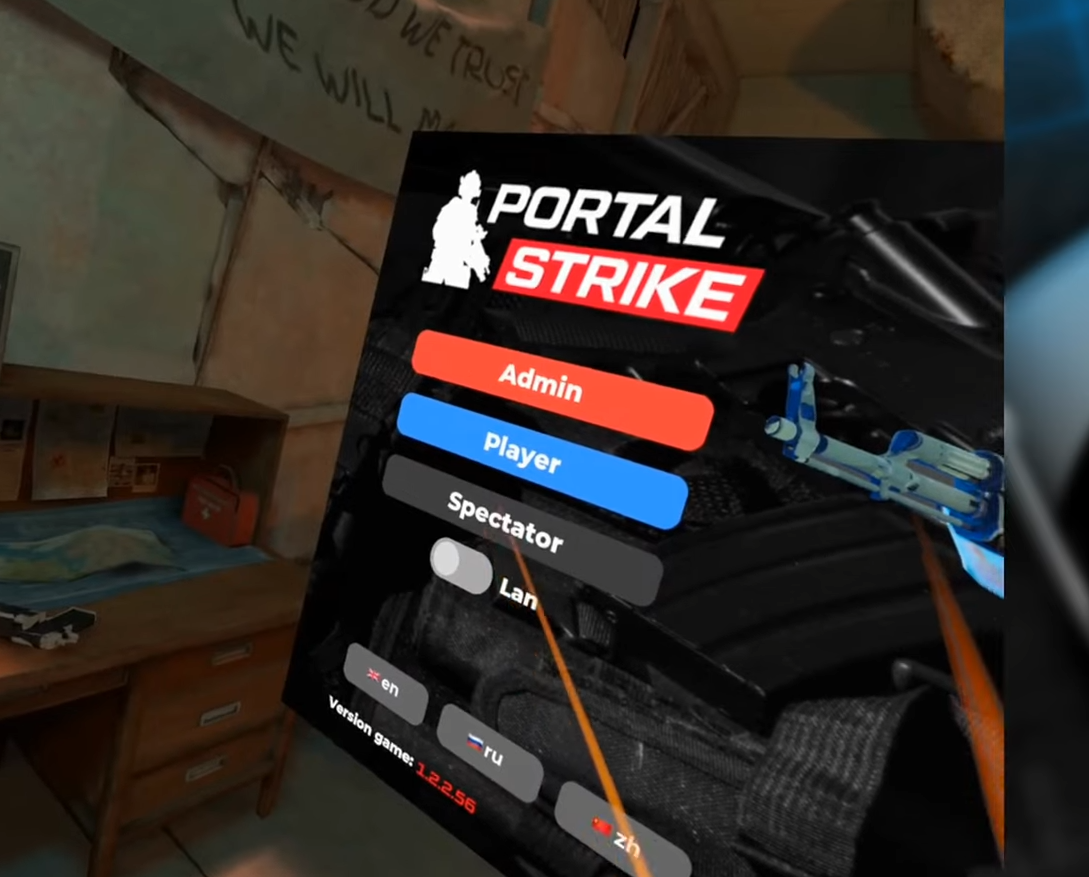
On a Windows PC (Admin Panel)
-
Navigate to the
Windows_Adminfolder. -
Run the
PortalGamesClient.exefile to open the Admin Panel.
-
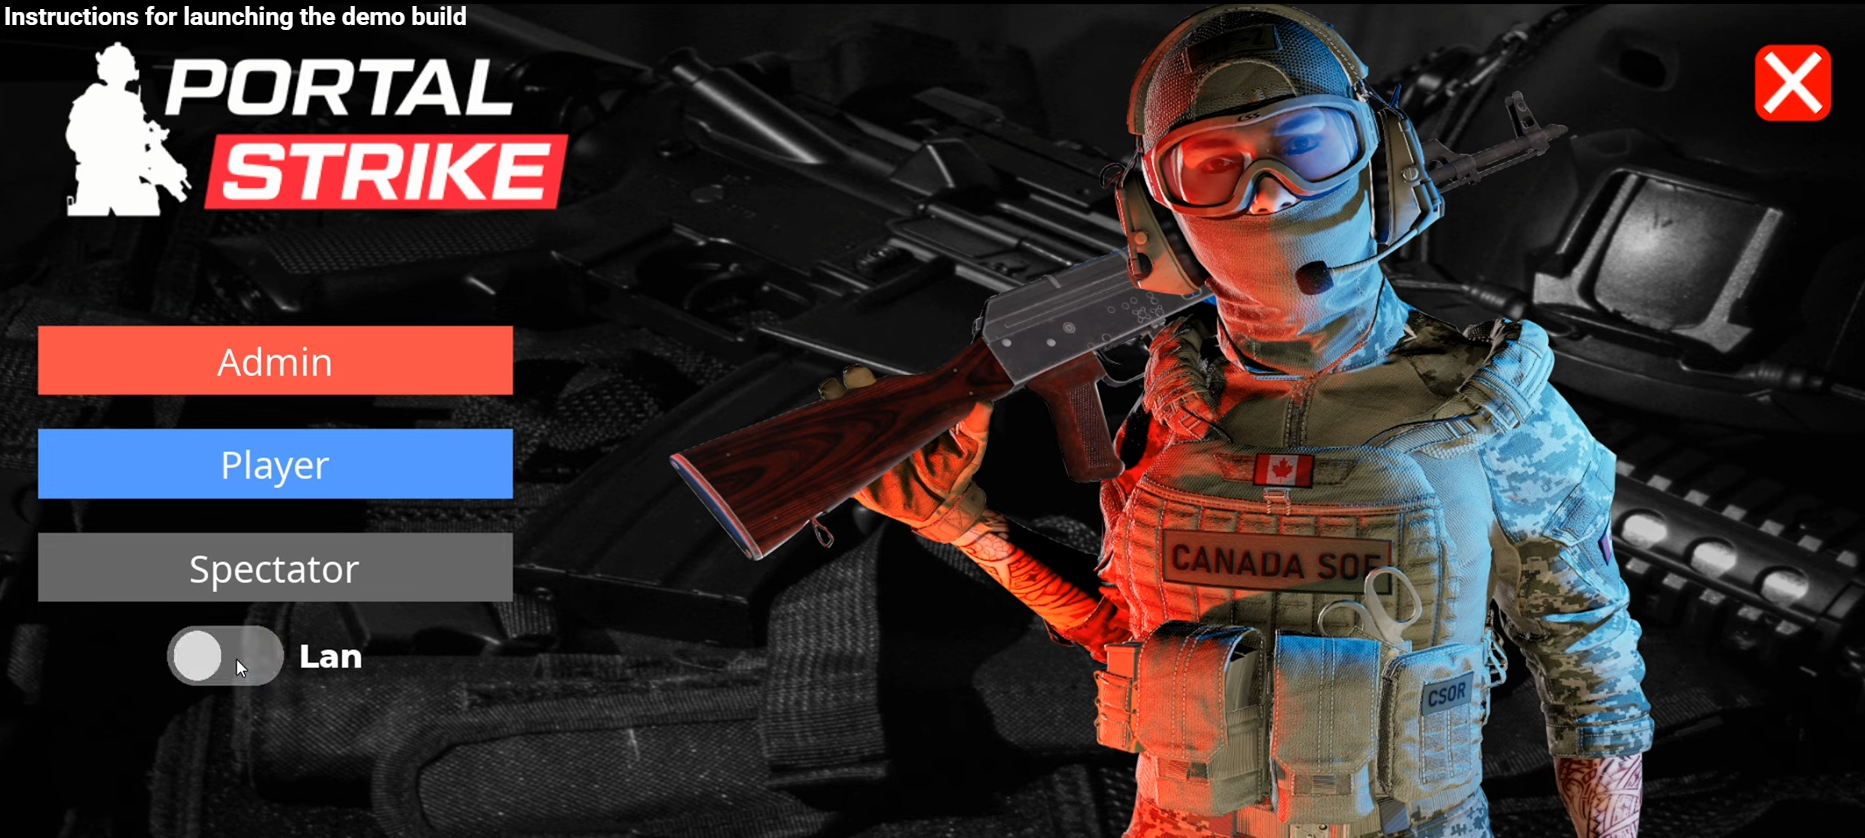
Inside the Admin Panel:
-
Disable the "LAN" toggle, as only the cloud server is available for demo games.
-
Click the "Admin" button. This will launch the game client in Admin Panel mode.

-
On a Headset (Oculus/Pico)
-
Put on your headset.
-
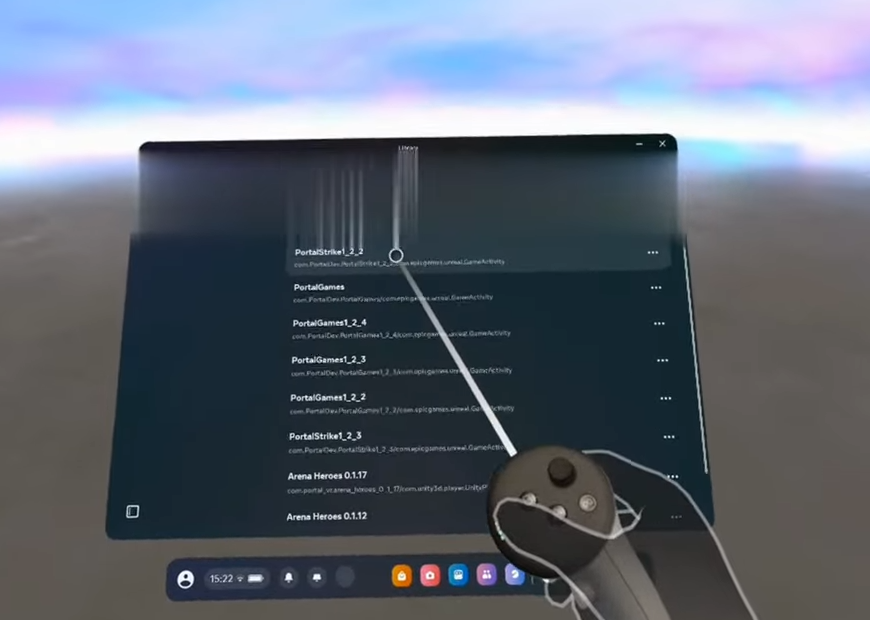
Navigate to your Library and find the game under "Unknown Sources."
-
Launch the game.
-
In the game's main menu:
-
Disable the "LAN" toggle.
-
Press the "Player" button.

-

4. Final Setup Steps
-
After the game launches, you must perform a calibration. Please follow the separate calibration guide provided by the team.
-
Once calibration is complete, you can start the game session via the Admin Panel.
Enjoy your game!