
Launching game content
In this section, we will show you how to properly launch our game content in your virtual reality arena.
Starting with a local server:
There will be a video in this place.
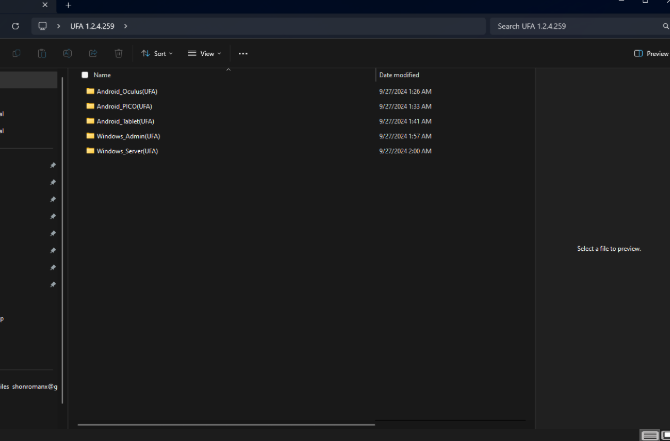
If you have an assembly for a local server, then the folder "Windows_Server" will be located in the folder after you unpacked the archive. How to run with a local server:
- Start the local server.
- Launch the admin panel.
- Connect to the local server from the admin panel.
- Launch the build on the virtual reality helmet.
- Connect to the local server from the helmet and calibrate it according to the game space plan.
Starting the local server:s
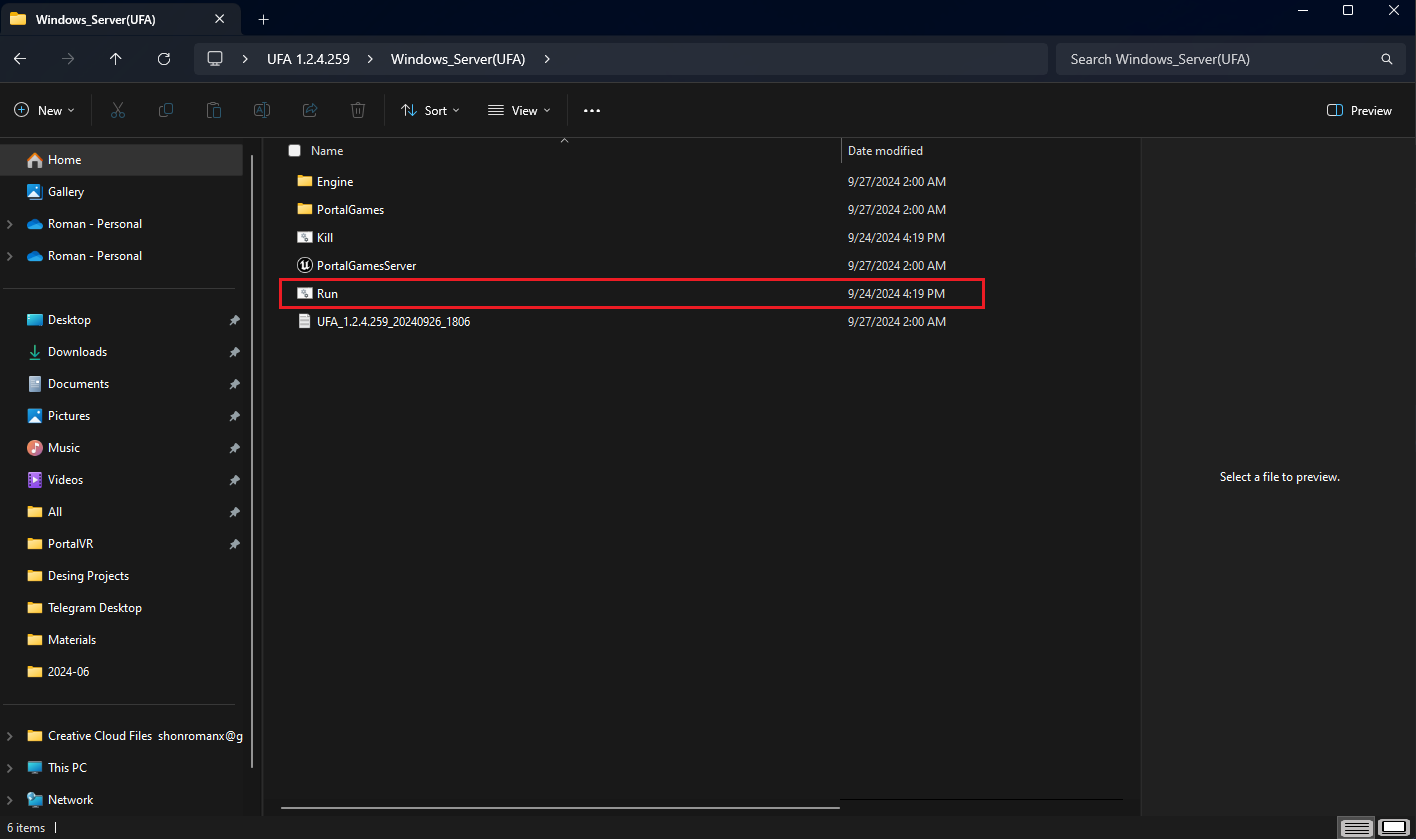
Open the Windows_Server folder, which contains the Run file with the <.bat>extension.
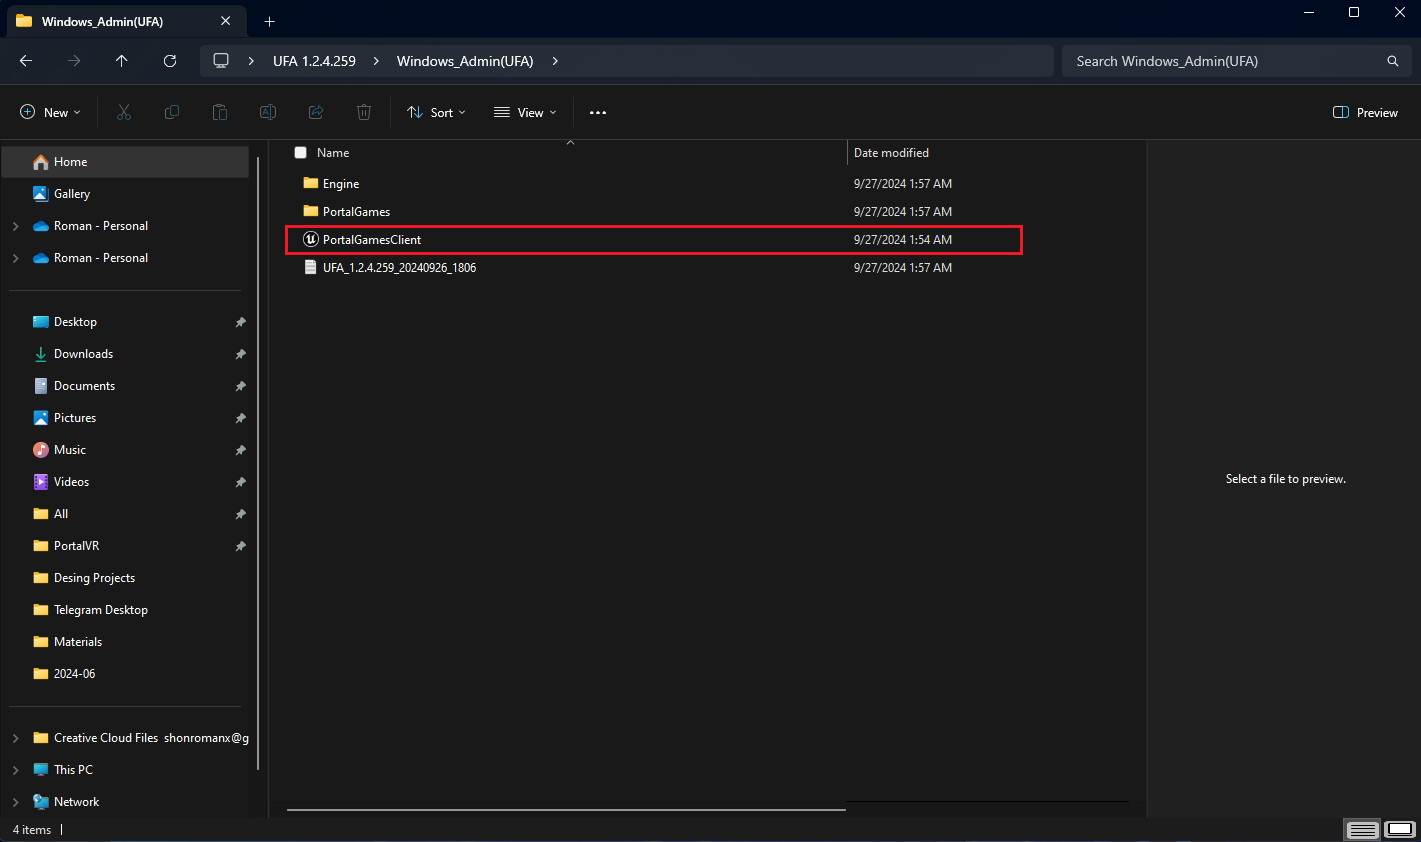
When the server starts, the lines in the console will stop. After that, open the Windows_Admin folder where the PortalGamesClient file is located and run it.
Now click the Admin button and you will connect to the local server.

Go to the launch from the helmet. Open unknown sources in your helmet and there you will see the game PortalGames_x. x.x, launch it and click Player instead of Admin. Once you've connected from your helmet, you'll need to calibrate yourself.
Starting a game with a remote server
There will be a video in this place.
- Launch the admin panel.
- Connect to a remote server from the admin panel.
- Launch the build on the virtual reality helmet.
- Connect to a Remote server from the helmet and calibrate it according to the game space plan.
Connecting to a remote server:
Open the "Windows_Admin" folder and run the PortalGamesClient file.
Now turn off the LAN slider and click the Admin button and you will connect to the remote server.
Go to the launch from the helmet. Open Unknown sources in your helmet and there you will see the game "PortalGames_x. x.x", start it, turn off the " LAN "slider and click "Player" instead of "Admin". Once you've connected from your helmet, you'll need to calibrate yourself.
There will be a video in this place.